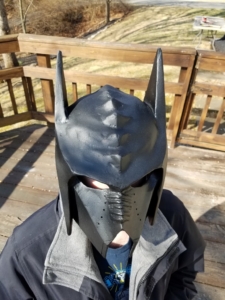
COSPLAY TUTORIAL:
KLINGON/BATMAN MASHUP BY GOTHAMCITY R&D
Helmet Designing
The concept was something I was really interested in trying to build; and I went though a few pages trying to figure out how the lines would flow between areas of the helmet.

Pattern Making
First, I took a headform and taped a layer of paper over the whole thing. This would make it easier to remove in the end, but for now it was a good surface to start building up the design.
Before I started adding anything onto the headform I traced the midline from the front to the back. Doing this would mean that I would only have to design and build half the helmet. So long as I am careful one side of patterns can be flipped to produce the full helmet when traced.
Gradually the shape built up. Mostly I used wadded paper and tape to make the design. For some of the bigger areas I used tin foil to really build up a surface. It was a lot of work adding and reworking chunks here and there to get the contours right.
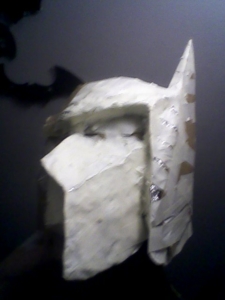
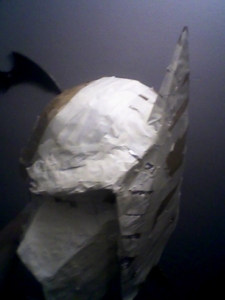
The really flat sections along the side of the helmet where the ears are were cut out of cardboard. I chose cardboard to make sure they had the right geometry when ready to be removed from the headform.
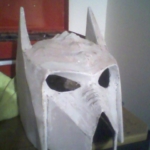
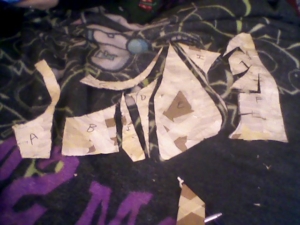
Once I had the shapes locked down I traced the edges with a marker to find the specific geometry of the helmet. These became the patterns for cutting out of cardboard. I have never sewn from cloth pattern before, but I imagine the process is very similar.
Assembling
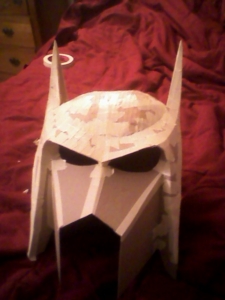
After tracing the patterns onto cardboard and cutting the pieces out, I simply matched the edges together and taped them. Some of the edges needed a lot more tape to make sure the edges stayed together in the right shape. The rounded parts of the top of the helmet around to the back was cut out from corrugated cardboard, which had to take a lot of smashing the corrugation down till it was softer.
Papermache
With the helmet taped back into form, I put the whole thing back on the headform from where I originally started. I made sure it fit snugly and taped it down along the edges – especially around the back of the helmet where it would rest along the neck.
Layer after layer of PVA glue and strips of paper were placed over the helmet. Generally, I wanted to make the whole thing reinforced to be a bit more rigid for when I take it out to be fiberglassed.
The ridged areas along the crown of the helmet and the snout area were built up by using PVA glue and cotton balls. The cotton will hold a lot of glue, and can be mashed down into the right shapes. It takes a bit of patience, and it is incredibly messy, but works great. I also used cotton along the back of the helmet where some of the hard edges appeared where the curvature what cut apart to lay flat.

Once the whole outer shell of the helmet has been coated, I took the helmet off the headform and placed a layer along the inside of the helmet. Doing this also helped round out the inside by cutting off the ears and along the sides of the helmet. There were not many layers added to the inside, but rather just to seal everything off on the inside.
Fiberglassing
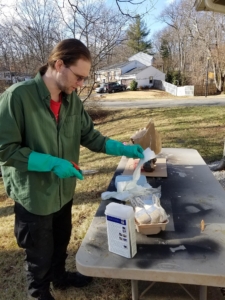
Fiberglassing needs a good set up and you must have all the right preparations. As I am want to tell everyone I talk to when it comes to fiberglassing – do not fiberglass without a respirator, and highly recommended to wear gloves. I cannot state this enough, any and every time I talk about working with it. Resin is nasty stuff.
I use fiberglass cloth, rather than matting, because it is much thinner and helps keep weight down.
Bondo
Bondo filler is also kind of nasty to work with. I use my respirator when working with it as well. It’s a two part mix that makes a putty that you spread over an area. After it cures it becomes a hard surface you can sand smooth.
This step is a lot of mixing and spreading bondo back and forth with sanding to make sure the contours are right and sanded smooth into place. I have a power sander to help the larger surfaces, but the more delicate areas I sand by hand. I even use a dremel on some areas to force some of the shapes to shape right.
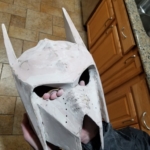
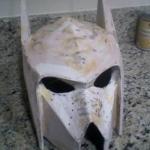
In the end, I get the helmet sanded and drilled into the final shape. The different colors on the helmet at this stage represent different mixtures of bondo, as you don’t always get the same mix between the red and white compounds. The orange shades are from wood filler I used at the final pass over to fill the pockmarks left from air bubbles from mixing the bondo, and to smooth out the real hard to get to places.
After these first few bondo build up layers and sanding sessions, I would go back over smaller areas with wall filler. It’s a different kind of substance, but water soluble.There’s an odd smell to the filler, but safe to use indoors. Best of all, it is softer and much more forgiving to rework.
The softness of wall filler is also something to be aware of, since you don’t want to use it on spikes or edges that could be easily damaged. You’ll want to use it more for internal areas, or to smooth defects out from rough surfaces. For example, in the pictures you can see areas around the ridges of the snout becoming smoother. I didn’t use it on the ears, because it could roll and crunch.
Painting
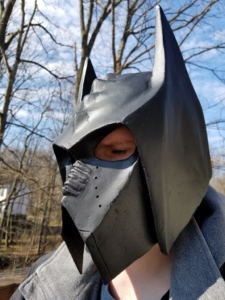
The commissioner of this helmet wanted the helmet to have an “oil quenched wrought iron” appearance. I wandered the isles of Home Depot looking for examples to compare texture and colors. This was going to be tricky.
I originally used a steel spray as the primary coating, to give it a metallic look.
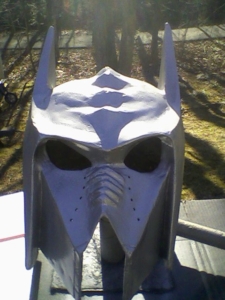
I later found a spray paint that supposedly would give it a hammered appearance. This turned out to be an amazing spray paint, as the heavier you would spray it onto the helmet the more hammered it would actually look. This was a great additional undercoat to add to the helmet.
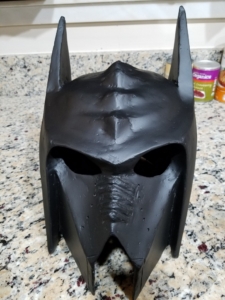
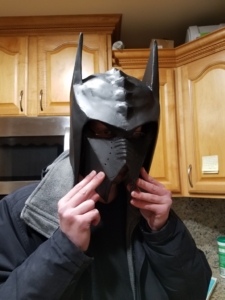
There was also a textured spray paint for outdoor use I tried out. The idea was it was a heavier spray paint that would give it a powered texture to add a surface grip. This was the paint to made the helmet looks like wrought iron, and felt like it as well.
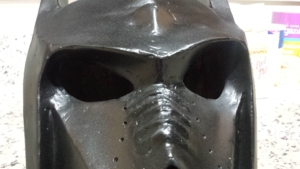
The final coating was a tester’s dull coat as a seal. Seeing as the whole paint job was already outdoor safe, I wanted to make sure the whole thing was sealed. This meant spraying the interior as well, just to make everything heavily coated. The dull coat gave it a nice flat tone, so it wasn’t as reflective.
Padding
The final stage was making a pattern of the inside of the helmet, and cutting out padding from foam. The foam forms a ring around the crown of the interior of the helmet for it to sit softly on your head and not shift so much. There is also an interior mask of foam to make it sit softer along your nose and cheekbones. Some of the edges of the fiberglass are still rough despite all the additional work to make them smoother, so having this extra layer of foam makes it much easier to wear.
LINKS:
For more tutorials by Gotham City R&D check out Tutorials section and visit their Facebook page.

